FREE SHIPPING ON ALL DOMESTIC ORDERS $65+
ACHIEVE A PERFECT FIRST LAYER
Posted by Bahij Nemeh, 24th September 2021
FULA-BITS: ACHIEVE A PERFECT FIRST LAYER
-
- Why do you want a perfect first layer?
- Leveling the right way
- A consistently level first layer
WHY DO YOU WANT A PERFECT FIRST LAYER?
As we’ve talked a lot about in past articles, most FDM 3D printing failures occur at the bed. Most people think that a stuck first layer is a successful first layer, but having an under or over extruded first layer will cause complications for the rest of your print, both from a success rate and visual standpoint. A first layer too far away from the bed will cause your filament to print in mid-air instead of directly on top of the previous layer. This can cause your print to detach mid-print and will promote bad layer adhesion. On the other hand, an over extruded first layer will cause the nozzle to print into the layer before it, potentially knocking the print off the platform. If the part manages to stay attached to the bed for the print duration, it can cause some pretty ugly-looking lines. Most people blame the over extruded layer lines in their prints on a warped Z-axis lead screw, poorly calibrated extruded, or bad filament, not realizing an unlevel first layer is usually the cause. Now that you understand its effects, you are ready to start perfecting that first layer. But how? There are a couple of steps in this journey, some in your control, some not:
A NEW APPROACH TO LEVELING
While the old paper leveling trick is widely adopted and works perfectly fine for most people, there are some common misconceptions. When leveling, your goal is to set the nozzle at z-coordinate 0 so that it’s barely touching the build plate. By using the paper, you are offsetting this coordinate by the thickness of the paper. Due to the paper’s soft and compressible nature, you cannot get a predictable offset. An improved method would be to use a feeler gauge, usually made from steel and calibrated to a consistent thickness. The feeler gauge would act as a substitute for the paper. So if you are using a 0.15mm feeler gauge, bring the nozzle right on top of the steel to the point where you can freely move the gauge but still feel some drag. You now know that you are 0.15mm away from a perfect level and can baby step your printer accordingly.
A CONSISTENT LEVEL FIRST LAYER
Unfortunately, many budget 3D printers nowadays come straight out of the factory with a warped bed. You can manually level all you want, but you will never get a proper first layer if your bed is warped. Some beds are warped so bad that you won’t be able to print across the bed without having one side jam into the plate and the other print in mid-air. Thankfully, there are several solutions, with both paid and free options!
MESH BED LEVELING (MBL)
Manual Mesh Bed Leveling is a feature available in Marlin (the firmware your printer most likely uses) that allows you to individually set an individual offset at different coordinates of the bed. It then takes the respective offsets and turns them into a mesh, spanning the entirety of your bed to try and mimic its warping. Probing each point allows the nozzle to lower and raise as it’s printing to ensure it is always the same distance away from the bed. MBL isn’t a feature enabled on most stock printers, so you might have to configure your own Marlin software or see if a community version is available for your printer with MBL enabled. Installing new firmware and then manually probing each point can be a little tedious, but this option is entirely free and requires no physical modification to your machine!
AUTO BED LEVELING (ABL)
Auto Bed Leveling uses the same concept as MBL but uses a sensor to probe the bed automatically. If your printer already comes with an ABL sensor, then you are one of the lucky few. The only manual input required from the user’s end is to set the distance between the probe’s activation point and the nozzle. This distance can be fine-tuned once after installation and will only need to be re-calibrated once in a blue moon. There are many different solutions out there for their ABL, each with its pros and cons. Some probe the bed mechanically while some do it inductively, and they tend to cost between $30-$60 a sensor. I would recommend doing your research here to find out which sensor works the best for your application. The downside to these probes is that you have to manually install and wire them and flash your own firmware to enable the feature on your printer. Also, keep in mind that both ABL and MBL compensate for a warped surface by mimicking its shape, meaning your prints will mirror that warpage.
REPLACING THE BED WITH A FLATTER ALTERNATIVE
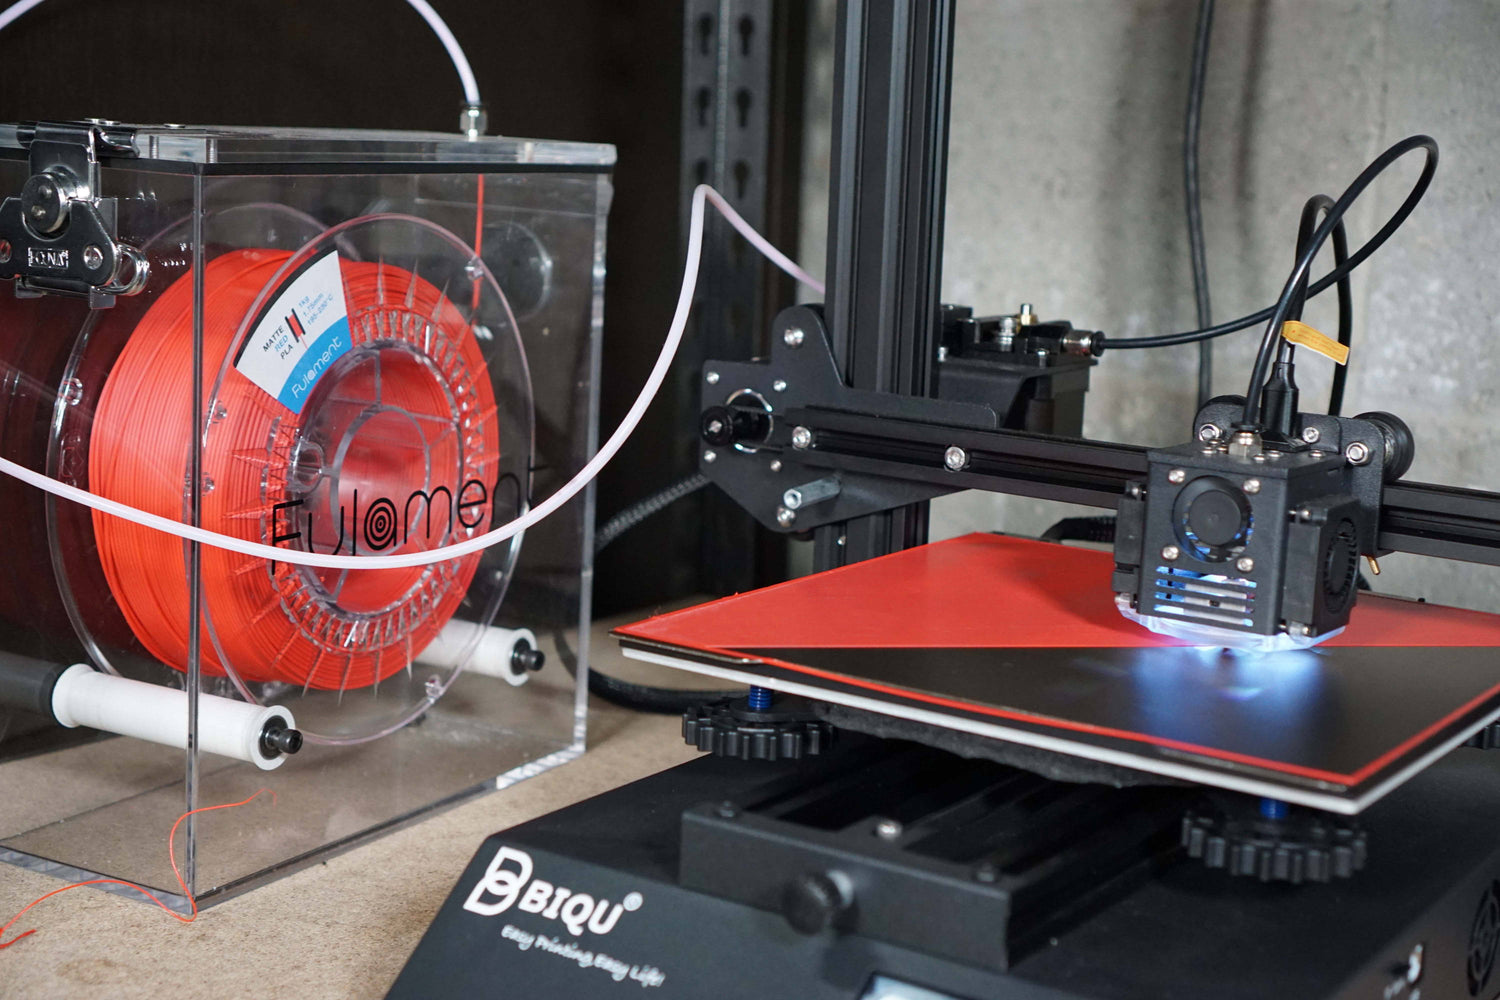
This solution is by far the easiest as it doesn’t require any firmware changes or electrical wiring. You can add a flat surface on top of your warped bed like borosilicate glass. The downside to this is that these materials are bad thermal conductors, so you will need to crank up your bed temperature. This solution might also cause your surface to heat very unevenly, which can cause more problems than fixes. This is where Fula-Bed comes in! We designed this to be the no-compromise solution for bed replacements. We’ve designed it to be plug and play, with no firmware changes or custom electronics. It’s flat, eliminating the need for any software leveling compensation (MBL and ABL) while also directly replacing your stock surface, eliminating any heat transfer loss. The 5mm thick aluminum acts as a heat spreader to ensure the entire bed heats evenly and includes embedded high-temperature magnets for use with your flex plate of choice. While this is not the cheapest solution, it’s designed to be installed once, never to be fiddled with again!
Hopefully, you are now armed with all the tools needed to get that perfect first layer! If you have any other tips or methods on how you get a great first layer, let me know in the comments below!