Step 1
Print Heater Aligners
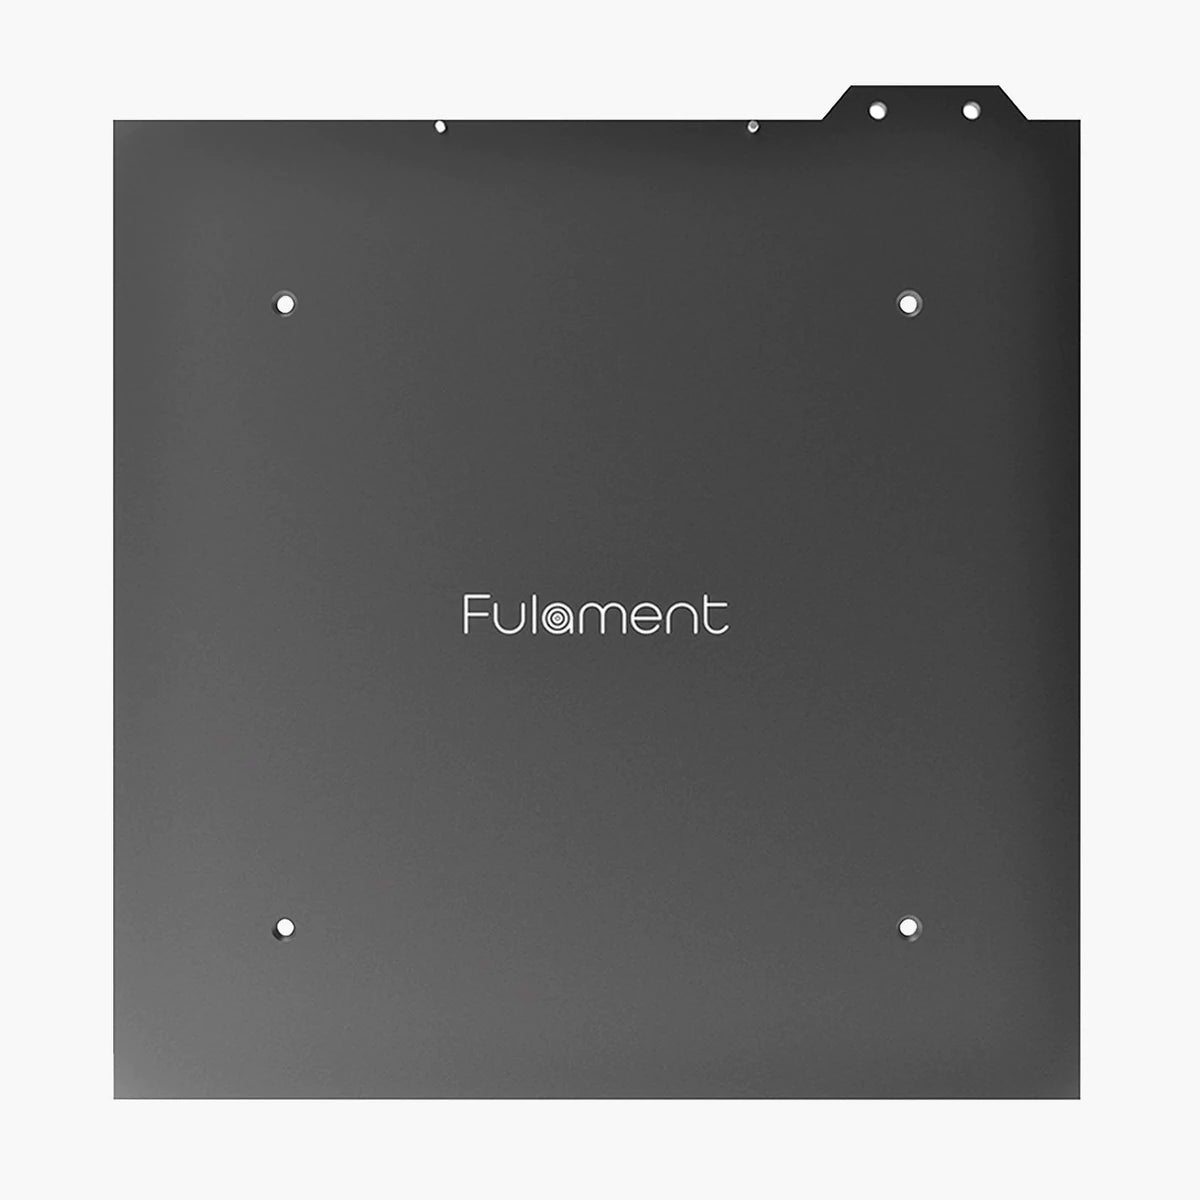
Congrats on your new Fulament Fula-Bed!
Before disassembling your printer, print four of the following heater aligners. These will allow us to attach the Fula-Bed heater perfectly in the center of the new Fula-Bed.
Step 2
Opening up the Sidewinder X1 / Genius
Step 3
Ensuring the Printer is Off
Step 4
Removing the OEM Heater from the SSR.
Step 5
Remove the OEM Heater from the Power Supply
Step 6
Removing the OEM Thermistor
Step 7
Pull out the Heater Wires
Step 8
Removing the OEM Glass Surface
Step 9
Attach the Leveling Screws
Step 10
Prepping Fula-Bed
Step 11
Attaching the Heater
⚠️ The adhesive on the heater is one-time use. So take your time with this step and practice placing the heater down without removing the adhesive backing.
⚠️ Make sure the wires are properly aligned so that the cable is exiting through the strain relief tab.
When you are ready to install the heater, peel off the paper backing and align the heater over the printed aligners. Hold the edges of the heater up, allowing the middle of the adhesive to make contact with the plate first. This will help prevent any air bubbles from being trapped.
Then, place down the corners and smooth the heater with your hand, starting from the center and pushing outward.
Lastly, smooth down the edges surrounding the printed aligners, ensuring that the heater is making full contact with the aluminum plate.

Step 12
Attaching the Ground Cable & Strain Relief
Step 13
Attaching the Insulator
To attach the insulator, peel back the adhesive backing, and line it up over the screws.
Attach it to the heater and smooth it down all over the bed. Spend extra time around the cable exit point and thermal fuse.

Step 14
Attaching Fula-Bed
STEP 15
Wiring the New Heater & Attaching the Thermistor
STEP 16
Wiring the Power Supply & Attaching the Grounding Cable
STEP 17
Attaching the SSR & Sealing the Printer
STEP 18
Installing Fula-Flex
STEP 19
Slicer Setting Adjustments

STEP 20
Level the Bed and Start Printing!
⚠️ Make sure your springs are fully compressed before leveling to prevent damaging the PEI
First, re-level the bed with a cold nozzle and heat bed in case your nozzle crashes into the PEI.
After you have verified that the nozzle won't crash into the PEI, re-level at printing temperatures.
You have successfully installed Fula-Bed. Happy printing!


